Sunday, February 13, 2011

White Chocolate Chip Cookies


 Here is the last of the Christmas cookies!  This is a simple little recipe, just a reverse of your regular chocolate chip cookies.  As with any cookies of this sort, you can bake them for any occasion or no occasion at all!  I hope you enjoy them!    


Ingredients:

1 cup butter, softened
2 cups white sugar
2 eggs
2 tsp vanilla extract
2 cups all purpose flour
3/4 cup unsweetened cocoa powder
1 tsp baking soda
1/2 tsp salt
1 2/3 cup white chocolate chips

Method:

Preheat oven to 350 degrees.  In a large bowl, cream together the butter and sugar until smooth.  Beat in the eggs one at a time, then stir in the vanilla.  Combine the flour, cocoa, baking soda and salt; stir into the creamed mixture.  Fold in the white chocolate chips.  Drop by rounded teaspoonfuls onto ungreased cookie sheets.

Bake for 8-10 minutes in the preheated oven, until the cookies are set.  Allow cookies to cool on baking sheets first then remove to wire racks.
 

Saturday, February 12, 2011

Raspberry Nut Pinwheels


Here is the second last installment of my Christmas cookies!  I mentioned in the previous post that I made these for my team at work for the holiday season and only now was I able to get them posted.  These cookies are great!  I had never tried them before making them which seems to be true for most of what I make.  But I am glad I did.  I mean with a name like that how can you not be intrigued.  These cookies have a bit harder texture then what I usually make but for good reason.  That being that they need to be to hold the filling and nuts.  I think these are good for any occasion be it Christmas or even just for guests at your home.

Just one note about these before we get started.  The ingredients call for seedless raspberry jam but being as I am not a big fan of store bought jams, I took fresh raspberries and sugared them lightly before doing my best to remove the seeds.  That way I avoided overly sweet jams and it worked just as good as any jam would.  On to the recipe!

Ingredients:

1/2 cup butter, softened
1 cup sugar
1 egg
1 tsp vanilla extract
2 cups all purpose flour
1 tsp baking powder
1/4 cup seedless raspberry jam
3/4 cup finely chopped walnuts

Method:

In a large bowl, cream butter and sugar until light and fluffy.  Beat in the egg and vanilla.  Combine flour and baking powder, gradually add to creamed mixture and mix well.

Roll out dough between two sheets of waxed paper into a rectangle about 1/8 inch thick.


Remove top piece of waxed paper.  Spread dough with jam and sprinkle walnuts on top afterwards.


Roll up tightly like you would a jelly roll and wrap in plastic wrap.  You may need two people for this.


Chill for 2 hours or until firm.  Unwrap dough and cut into 1/4 inch slices.

 
Place 2 inches apart on ungreased baking sheets.


Bake at 375 for 9-12 minutes or until edges are lightly browned.  Gently remove and place on wire racks to cool.

Delicate Mint Thins

Hey again!  I managed to steal some time away from work to try and post a handful more recipes that were meant to go up for the Christmas season.  As you can gather, time's been against me and it's mid February and I'm trying to post these babies.  Oh well, better late then never right?  For my team at work I decided I would do as I did last year and make them each a box of assorted cookies for the holidays.  Two recipes, of which I already posted.  This batch, I think, are my best ones yet.  Of course, I only did this once before haha.  The recipe for today are these Mint Thins.  These are great for the Christmas season because they use fresh (not dried) mint.  Last year I made a couple of cookies in which I used mint extract.  But after trying these, I don't think I will go that route again.  These just taste so much more natural and refreshing then any extract.  Let me know what you think about this unique cookie!

Ingredients:

1/2 cup butter, softened
1/2 cup sugar
1 egg yolk
1/2 tsp vanilla extract
1 1/2 cup all purpose flour
1 1/2 tsp baking powder
1/8 tsp salt
3 tbps milk
1 cup FRESH mint, finely chopped
1 2/3 cup semisweet chocolate chips
1 tbsp shortening

Method:

In a large bowl, cream together the butter and sugar.  Beat in the egg yolk and vanilla.  Combine the dry ingredients; add to creamed mixture altenately with milk, mixing well after each addition.

 
Stir in the fresh mint.  Shape into 8 inch rolls.  Wrap each in plastic wrap.  Chill for at least two hours or until firm.


Unwrap and cut into 1/4 inch slices.


Place 1 inch apart on greased baking sheets.

 
Bake at 350 for 8-12 minutes or until the edges are golden brown.  Remove and gently place onto wire racks to cool.  In a microwave or double boiler, melt your chocolate chips and shortening; stir until smooth.  Dip each cookie halfway and allow any excess to drip off.  Place each cookie on wax paper to set.


There you go!  Fresh mint thins (almost) ready to eat!

Wednesday, December 22, 2010

Apricot Cheese Crescents!

These Christmas-y bite-size turnovers are sure to be a hit no matter what time of year you serve them! They take a bit of prep time but in the end its worth it, and the sky is the limit with what you can fill them with. For this recipe, apricot is the fruit of choice. I got this recipe from a book I recently bought and I hope you enjoy them as much as I did.


Ingredients:

Dough:
2 cups all purpose flour
1/2 teaspoon salt
1 cup cold butter
1 cup cottage cheese

Filling:
6 ounces dried apricots (yes they must be dried)
1/2 cup water
1/2 cup sugar (I used less but it is up to your tastes)

Topping:
3/4 cup finely chopped nuts (any kind)
1/2 cup sugar
1 egg white, lightly beaten


Method:

In a large bowl, combine the flour and salt. Using your hands, cut in your butter to form crumbly bits.


Add the cottage cheese and mix well. Shape into 1-inch balls. Place in a container and refrigerate overnight if possible.

To make the filling, combine the dried apricots and water in a saucepan and simmer with the lid on for 20 minutes, stirring occasionally.


Cool for 10 minutes. Using a food processor or blender, process until you get a 'jam-like' consistency. Stir in the sugar, cover and refrigerate.


For the topping, combine the nuts and sugar in a bowl and set aside.

Once your dough has been chilled overnight, it is ready to work with. On a floured surface, roll the little balls into 2 1/2 inch circles. Spoon about 1 teaspoon of filling into the center of the dough.


Fold the dough over the filling and press the edges to seal them. If they come apart, use a little bit of water to help the union.


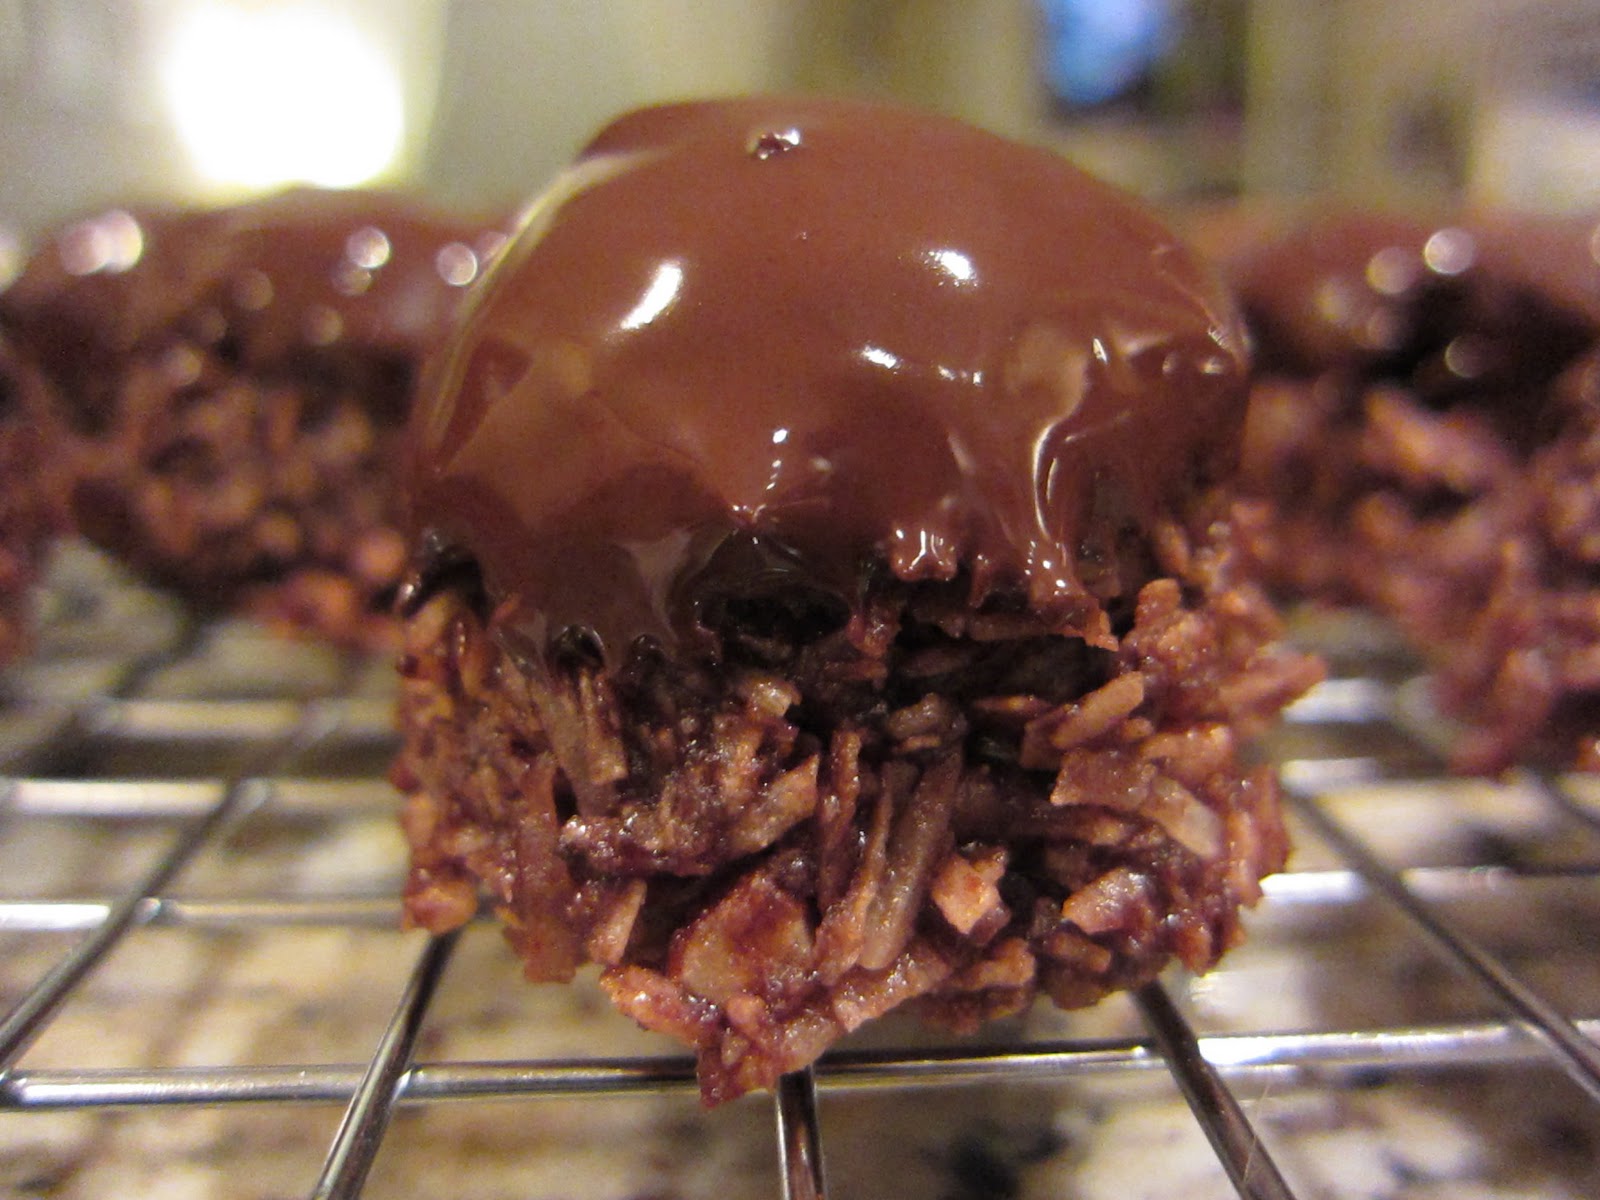
If you have a fondant roller or a knife, you can remove the excess dough from the edges but make sure to leave a little bit. They should come out looking something like small raviolis
 .

Brush the top of your ravioli with some egg whites and then sprinkle with the nut/sugar mixture.


Now you can place them onto a greased baking sheet. Bake at 375 for 12-15 minutes or until they look toasted and slightly brown on the top.


Remove from the oven and place onto wire racks to cool. A word to the wise don't try to eat these before they have completely cooled, my husband learned the hard way that hot jam burns haha

Good luck with this recipe and I hope you enjoy it!

Tuesday, December 21, 2010

Chocolate Hazelnut Macaroons

It's been a long while since I last posted but just in time (and I mean JUST in time) I decided to post a couple of recipes that I recently made for myself this holiday season. To start off, these chocolate macaroons! These are extremely easy to make and I am sure you will agree taste great too.


Ingredients:

2 cups flaked coconut (if you get the sweetened kind, add less sugar to the recipe)
1/2 cup finely chopped Hazelnuts (or any other nut you choose)
1/3 cup sugar
3 tablespoons cocoa
2 tablespoons all purpose flour
pinch of salt
2 egg whites, beaten
1 tablespoon light corn syrup
1 teaspoon vanilla extract
4 squares (4 ounces) semisweet chocolate

Method:

In a large bowl combine the coconut, nuts, sugar, cocoa, flour and salt. Add the egg whites, corn syrup and vanilla. Mix well.


Using a small ice cream scoop, or tablespoon, drop mixture onto greased baking sheets. You can afford to put them close together as they don't expand much. Bake at 325 for 15-20 minutes.


Don't overcook these or they will become hard. Once finished, cool for 5 minutes before removing them to a wire rack to cool.

While these are cooling take a double boiler and melt your chocolate. Dip the top of each macaroon with chocolate and let the excess drip off. You can also dip the bottoms if you prefer rather than the tops.

Place them back onto your wire rack to dry. If you decided to dip the bottoms, place them onto wax paper to dry instead.


This recipe should yeild about 1 1/2 dozen.

Enjoy!

Monday, July 26, 2010

Chivito Canadiense!


Chivito Canadiense is a special dish found in Uruguay that can most easily be described as a 'steak sandwhich' Uruguayan style.  Literally translated, a chivito is (from what I understand) a baby goat, Canadian style.  I have read many stories as to where the origins of it come from and most point to a blackout, an Argentinian looking for a meal reminiscent of home at a local Montevidian restuarant and what they produced for her instead.  This became known as el Chivito.  There are endless variations to preparing the chivito but I have chosen a simple version.  I beleive the reason they decided to name it after my country of my birth is probably because of the use of Canadian bacon / ham.  Since I hate ham however, I chose bacon for this post. ;)

What you will need:

Bread (either a hard roll or hamburger style bread)
Beef cut into 1/4 cut steaks (filet mingon, or for you Uruguayans you need a couple churrascos.)
Bacon strips
Tomatoes, sliced
Lettuce
Onions, chopped
Red Bell Peppers, chopped
Mozzarella cheese, sliced thinly
Sliced Pickles
Mayonnaise, to taste


Method:

First things first, you want to cut your bread in half so it will be ready to house your meat and veggies.  Second take a frying pan and start to cook your bacon, sliced onions and chopped red peppers.
 

If the peppers or onions need more time you should be able to remove the bacon and continue cooking the rest in the remaining bacon fat.  Once the veggies are cooked to your taste (onions should be golden brown) then you can use the remaining grease to cook the Churrascos.  Once they are about half way cooked to your liking, salt them on each side and place your mozzarella on top so it can start melting. 


Now comes the fun part!  Place your churrasco onto the sliced bread followed by your bacon, onions, red peppers, tomatoes, pickles and lettuce.  On the other side of your bread you can spread some mayonnaise and close it up!  Slice it in the middle and you are ready to serve!


If you want to make this a complete meal, traditionally you would serve this with french fries or potato salad.  Hopefully you enjoy this guy!  As I mentioned earlier, you can put several variations onto this depending on your tastes, from a fried egg to pickled beets.  Enjoy!


Tuesday, July 20, 2010

Light tent tests and updates!

As you may have noticed, I haven't updated the blog recently.  I was swamped with work for 2 months and then promptly took a two week vacation, however I haven't forgotten about my blog!  I have been trying to think of ways to make the blog a little easier on the eyes.  Particularly in terms of my picture taking abilities!  Previously I was using a point and shoot Canon camera, but I decided to upgrade since that one was getting quite old.  No, no, I didn't get a digital SLR or anything fancy like that, but instead another another point and shoot style Canon (the newest edition).

The other thing I got was a brand new light tent!  The reason for that was just to try and improve lighting conditions, etc, in my pictures.  My kitchen (in case you haven't noticed) has absolutely TERRIBLE lighting in it.  Honestly I haven't really figured out how I am gonna showcase any of my process shots using the light tent but we'll see.  I did a couple of very quick tests with my new camera and tent and it gave me the opportunity to showcase the new (old) books my father got for me in Uruguay.  It is quite obvious that I need to steam the carpets that come with the tent but this was just a quick test.  Ironically, I am using the WORST lights I could have ever stolen from work. ;)  They are absolutely terrible, but worked for the test.   See below! 

Oh also, I have made a little page on facebook for the blog, if your interested, please 'Like' it !  It is of course called 'I Cook!'.